All Posts By

casperlajensen

What is 3D motion design?

3D motion design is a dynamic form of storytelling and digital art. It is the creative process of using computer-generated three-dimensional graphics and animation techniques to produce dynamic and visually engaging experiences for different media applications.

As a 3D artist, I immerse myself daily in the fascinating world of 3D motion design, a dynamic and innovative form of digital art that combines the depth of three-dimensional graphics with the fluidity of animation. This art form allows artists like myself to create engaging and lifelike animations that capture the imagination and deliver powerful messages across various media.

The Artistic Process Behind 3D Motion Design

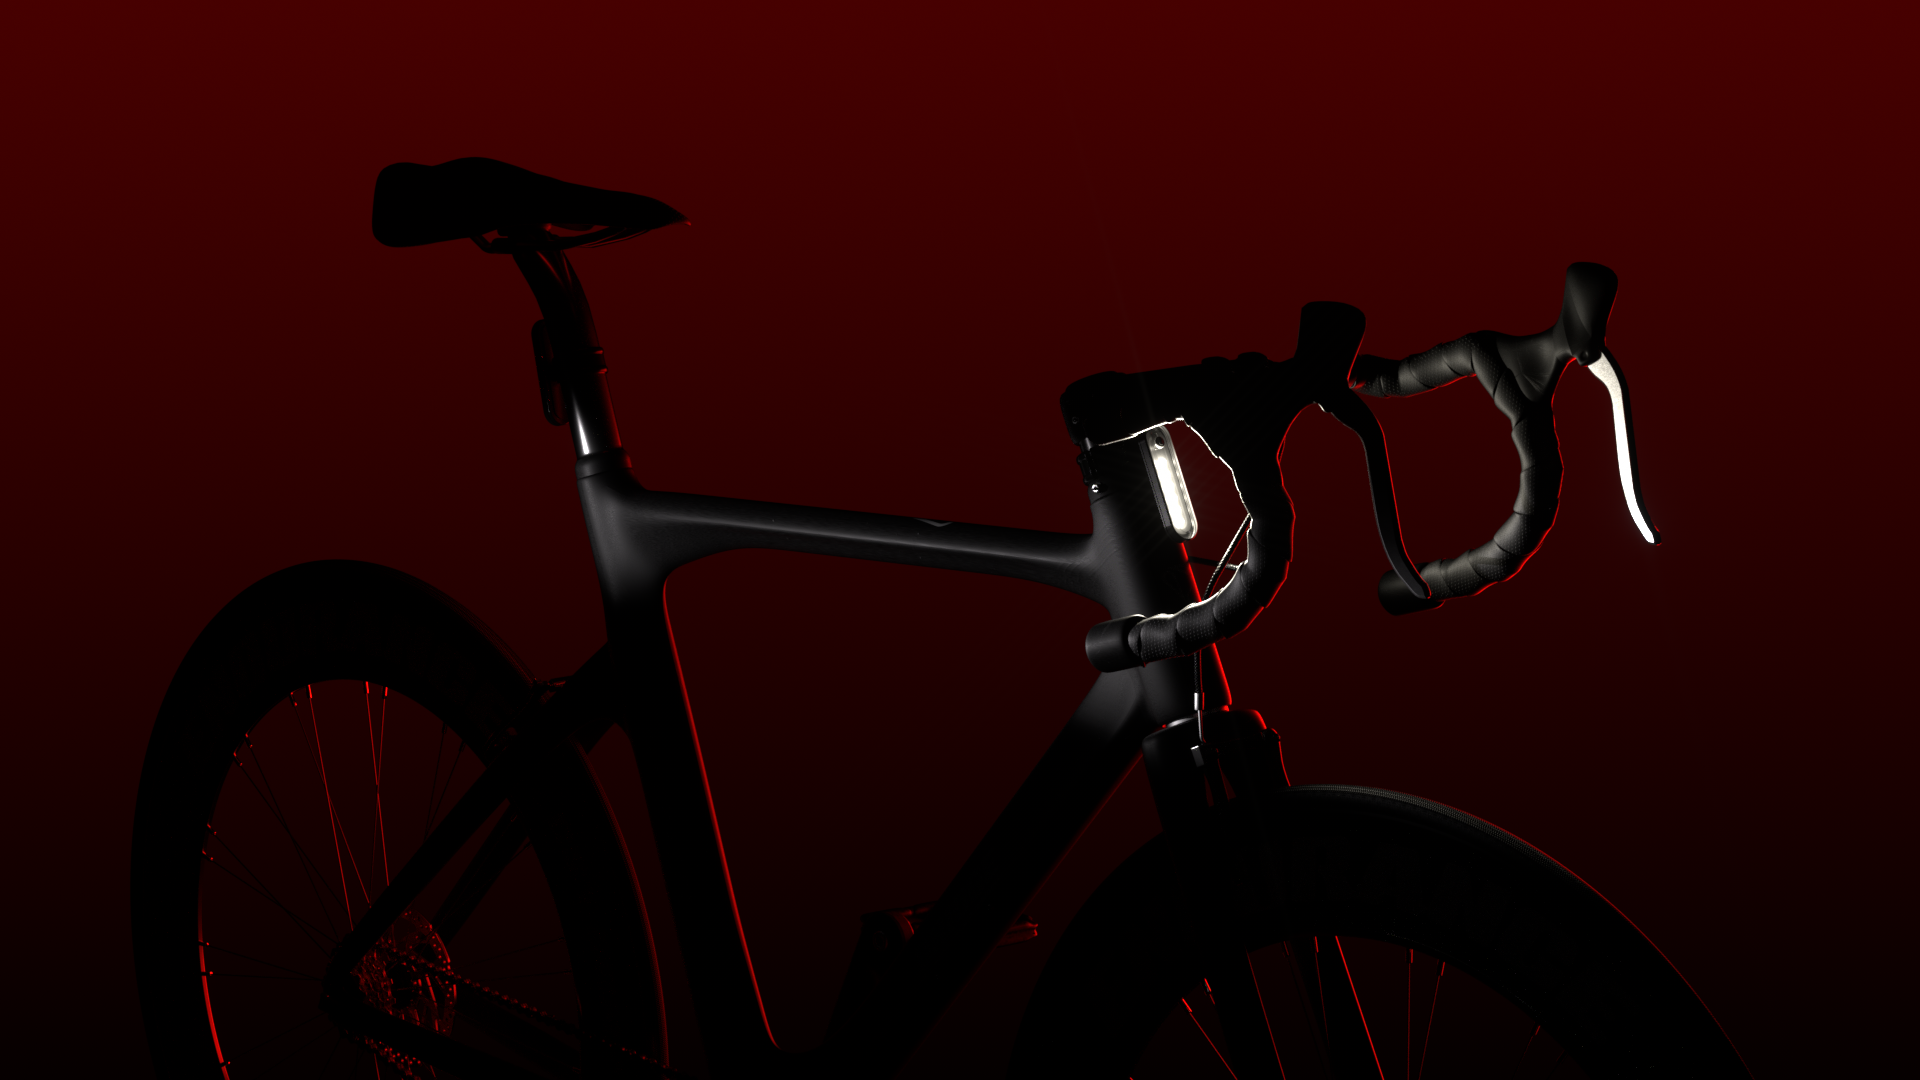
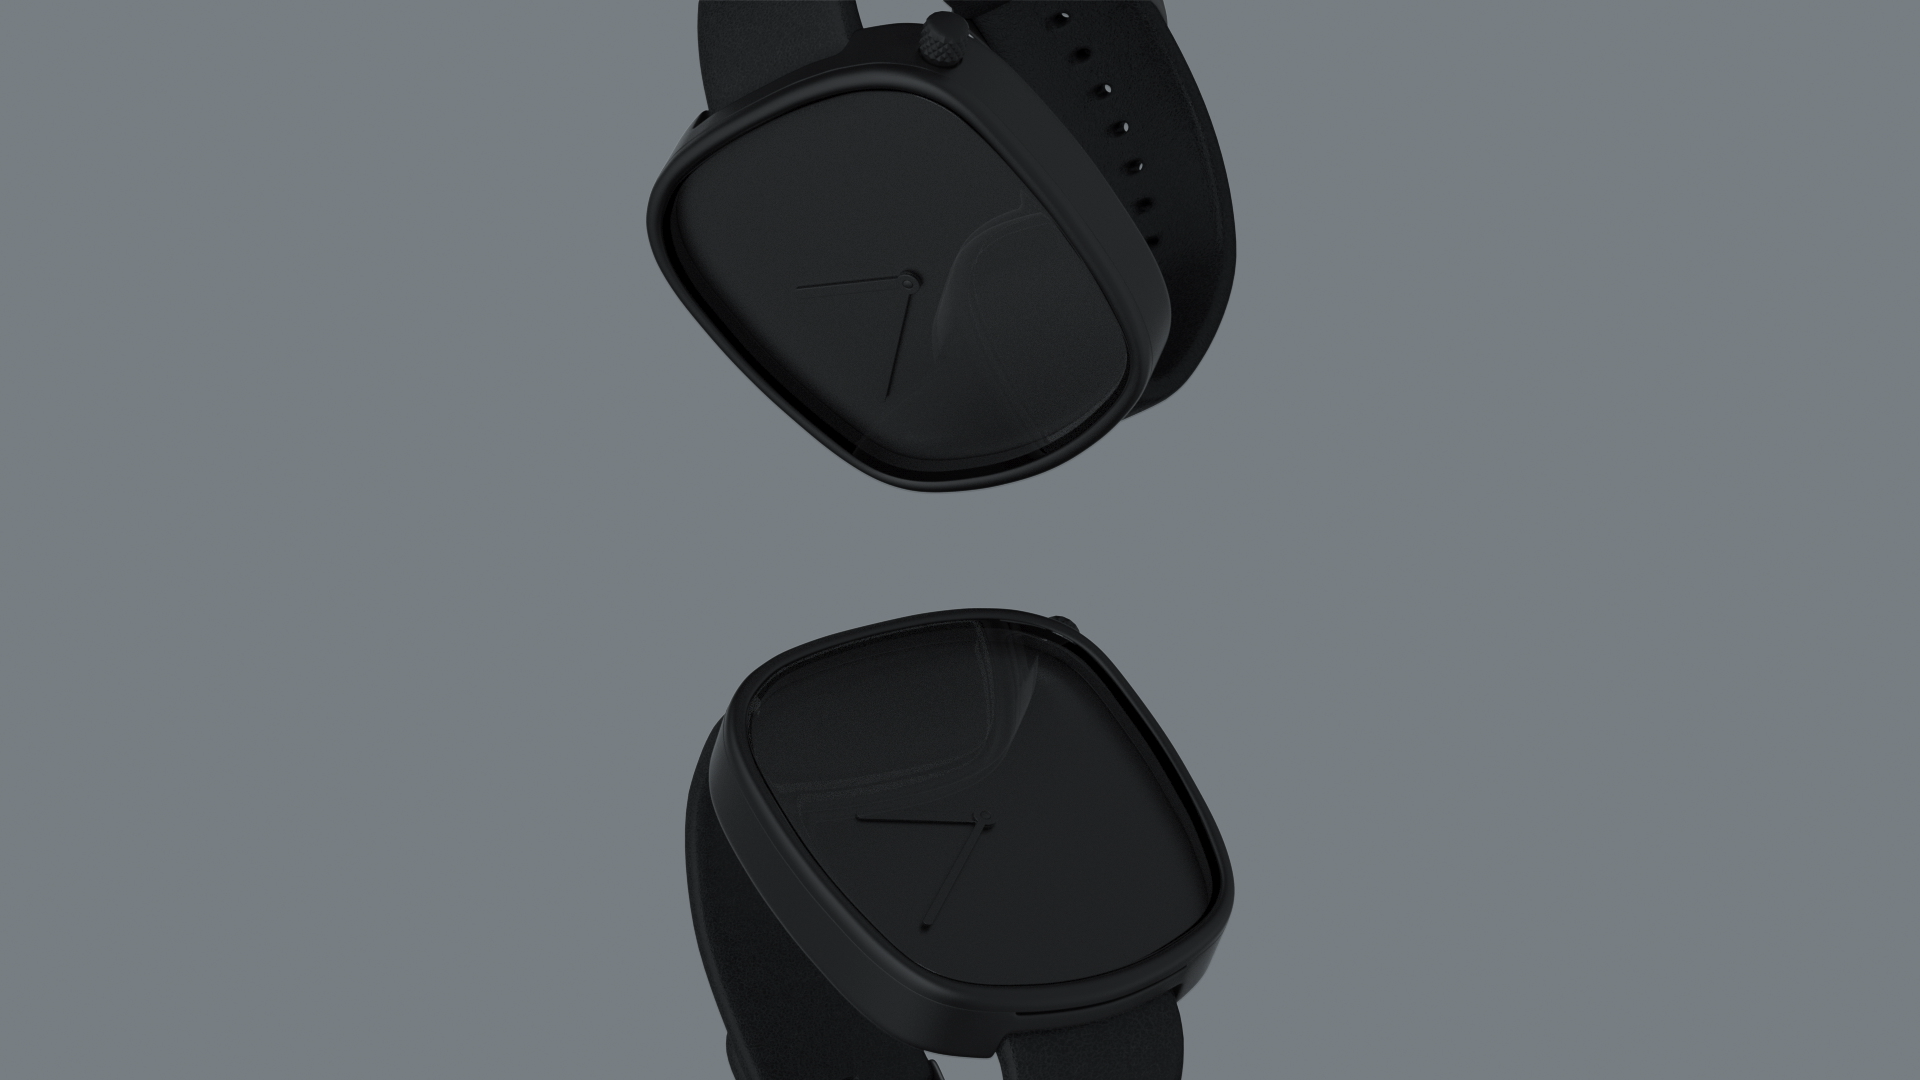
1. 3D Modeling and texturing: Everything starts with 3D modeling, a fundamental step in an animation pipeline. Using 3D animation software like Cinema 4D, Houdini, and Fusion, we can craft detailed digital models. Then each model is textured to create a realistic touch. Each model must be meticulously constructed to ensure they move naturally in the animation phase.

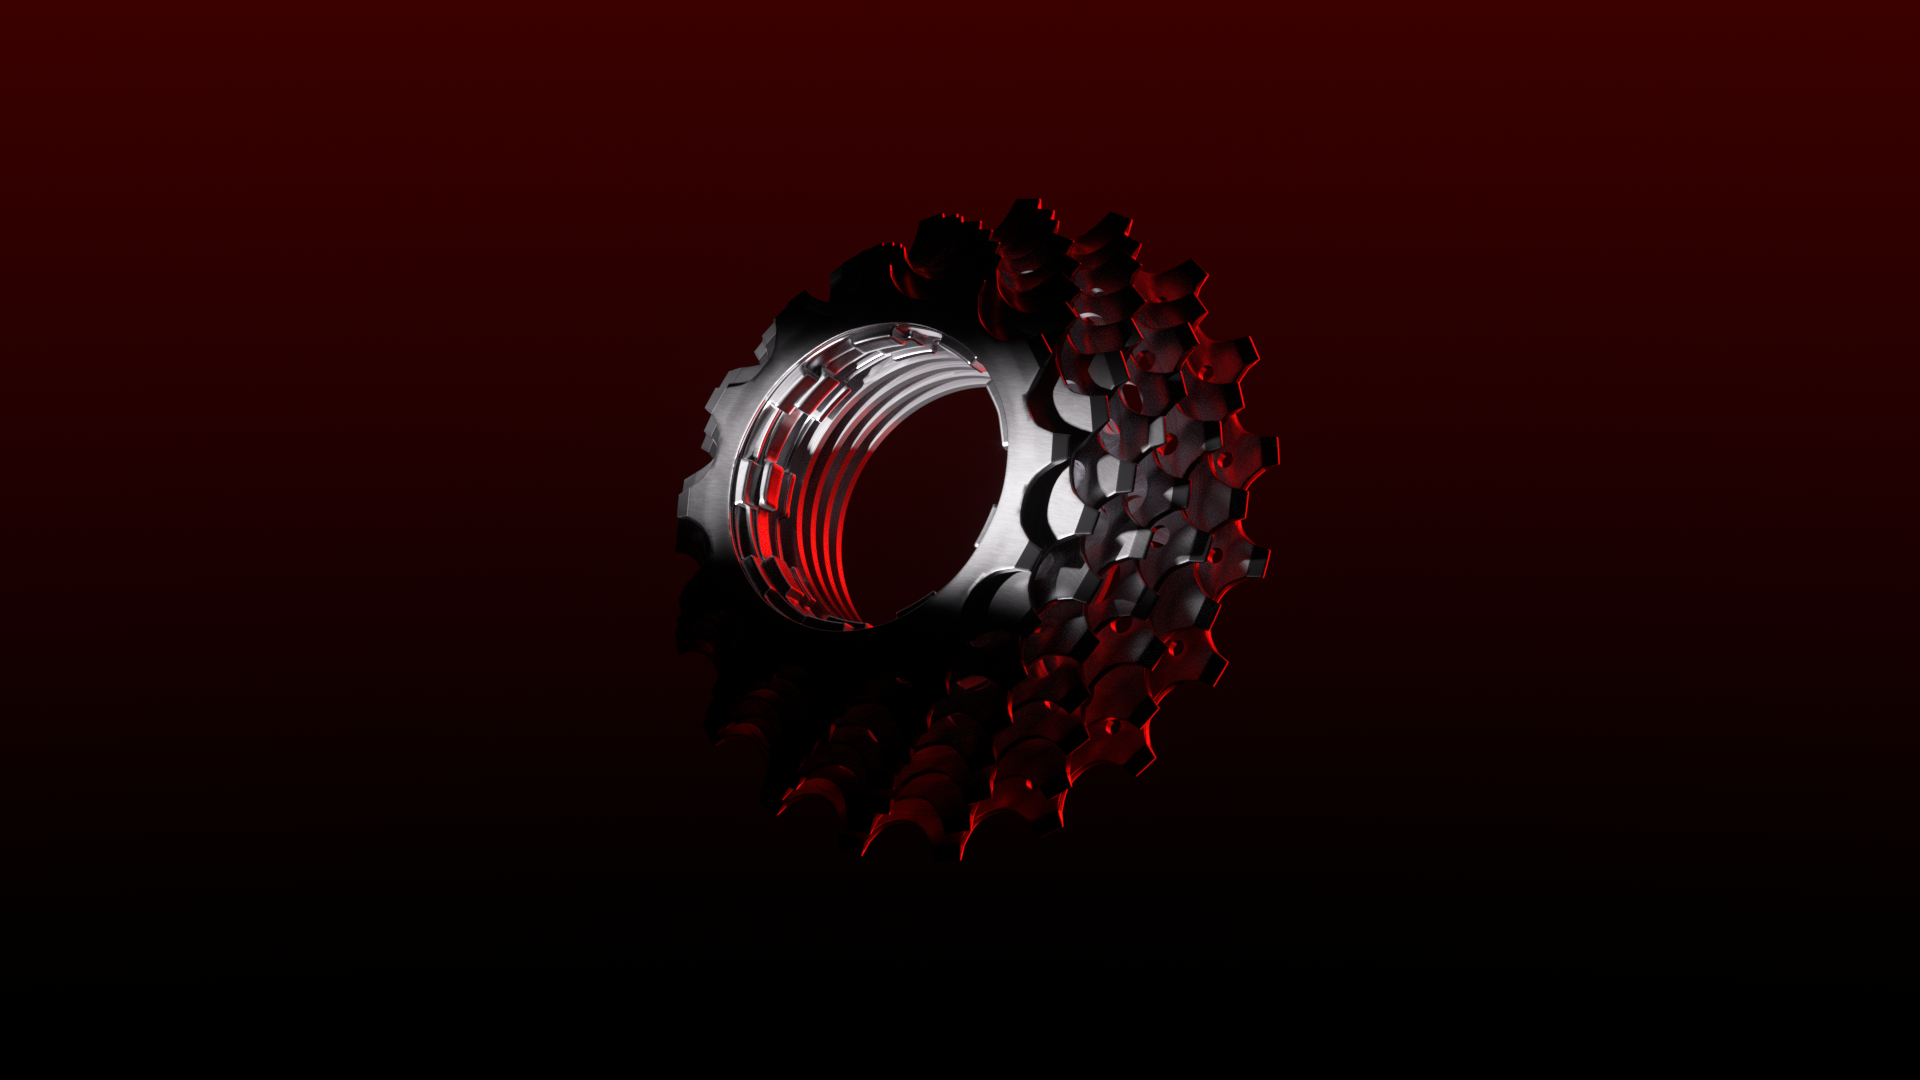
2. 3D Lighting and Texturing: The culmination of the efforts brings us to the output of the 3D texturing stage, where models are animated with lifelike textures. Then lit to bring the object and scene into a realistic composition. Lighting and shadows are crucial for crafting appealing and defining the visual quality and is essential for both product animation and creative animation projects.

3. Animation Techniques: Post-modeling and texturing, models are brought to life through rigging and sophisticated animation techniques. Industry tools like Cinema 4D Maya, and Houdini play a crucial role here, enabling us to create digital worlds that encapsulate and enhance the narrative with dynamic scenes and animation.

Why 3D Motion Design Matters

For us 3D artists, motion design is not just about creating appealing visuals; it’s about storytelling. Whether it’s for a commercial that needs to captivate an audience or a feature film requiring complex visual effects, 3D motion design enables us to push the boundaries of traditional filmmaking and advertising.

In the educational and corporate sectors, it helps simplify complex concepts and engagingly communicate them. The ability to depict realistic animations and simulations makes 3D motion design an invaluable tool that enhances experiences, being it brands, products or educational.

As technology evolves, so does the scope of what we can achieve with 3D motion design. Every project is an opportunity to challenge our skills and expand our creative horizons. It’s an exciting field, constantly pushing the limits of both technology and creativity and as a 3D artist, I am proud to be at the forefront of this artistic revolution.

How do you create quality 3D product animation videos?

Crafting Compelling 3D Product Animation: A Step-by-Step Guide

In today’s marketing world, it’s hard to stand out with just video production. 3D product animation videos have become a powerful tool for brands to showcase their products in a captivating and immersive way. From explainer videos to product demonstrations, the possibilities are endless. The question one might have is how exactly do you create quality 3D product animation videos that stand out? Let’s dive into the process.

Step 1: Define Your Objectives

Before getting into animating, it’s crucial to define your objectives, audience, scope and budget. What message(s) do you want to convey? Who is your target audience? Understanding these aspects of the process will shape the direction of your animation project. Don’t know how to create a scope and set objectives, let’s talk!

Step 2: Scripting and Storyboarding

Once your objectives are clear, it’s time to outline your narrative in a written treatment/brief, to setup the story to match with your objectives, message and audience. The treatment/brief is the recipe of the create concept. How to write a product Video treatment is typically a job for a person in a managerial role like a marketing director, art director or creative director. After outlining the creative concept in writing, the next step is to create a storyboard that serves as a well-crafted blueprint to ensure coherence and clarity in storytelling for your animation. Typically this is done by the creative (freelance/agency) that has been briefed with delivering the creative concept. This step is crucial for you (the client) and the creative to make sure that you are on the same page.

Step 3: Animatic

The storyboard is now then ready to be used to create an animatic. An animatic is a pre-visualization tool used in animation and filmmaking to plan and visualize the sequence of shots in a project before full-scale production begins. Animatics serve as a roadmap for the project, providing a clear visual reference for the entire team and helping to streamline the production process by identifying potential issues early on. To make an animatic, artists assemble storyboard images or rough sketches into a sequence, adding timing and audio elements to simulate the flow and pacing of the final animation or video. This process allows creators to test different compositions, camera angles, and timing choices, ensuring that the storytelling elements work effectively before committing to more time-consuming and costly production stages.

Step 4: 3D Modeling and Texturing

The next step is to create 3D models of your products. As a company with a physical product, you might already have production files of your product. Be ready to provide these to save money on extra production time. Creating products from scratch is time consuming, so a 3D modeler will do the best job possible to meet your criteria. 3D Modeling involves using specialized software to design and sculpt virtual representations of your products. Providing reference of the product in pictures and physically help speed up the process and revision rounds. Texturing is the next step of realising your product, and adds detail and realism to the models, enhancing their visual appeal.

Step 5: Animation and Rigging

Once the models are ready, it’s time to breathe life into them through animation. Rigging involves creating a digital skeleton for the models, allowing them to move and interact realistically. From simple rotations to complex movements, animation brings your products to life on screen.

Step 6: Lighting and Rendering

and compositing Lighting plays a crucial role in setting the mood and atmosphere of your animation. Proper lighting techniques can enhance the visual appeal of your products and create a more immersive viewing experience. The Rendering transforms your 3D models into high-quality images or video frames, ready for final production. The last part of the visual process is to composite and edit the output from

Step 7: Sound Design and Effects

To add another layer of immersion sound design and effects are added to the animation. Whether it’s background music, sound effects, or voiceovers, audio elements can enhance the storytelling and emotional impact of your video. This is typically a job for a sound designer or can be done by a skilled editor. It’s important to know how sound design for 3D product animation videos can make or break your project.

Step 8: Review and Refinement

Once the animation is complete, it’s essential to review the video carefully for any errors or inconsistencies. Feedback from stakeholders can provide valuable insights for refinement and improvement.

Step 9: Final Production and Distribution

With the animation polished and refined, it’s time for final production and distribution. Whether you’re sharing it on your website, social media platforms, or at trade shows, ensure that your animation reaches your target audience effectively.

Creating quality 3D product animation videos requires careful planning, attention to detail, and creative expertise. By following these steps, you can craft compelling animations that showcase your products in the best possible light, leaving a lasting impression on your audience.